Payments are generally created when the application is in the Pending Approval status.
Step 1 - Enter the grant amount
Enter the total amount of the grant at the top of the application and then click Save Draft.

Step 2 - Schedule the payments
Select the Schedule Payments button.
Enter the date you wish to make the first payment in the Start Date.
Enter a date when you expect the payments to end.
Enter how often you would like to make the payments.
Selecting the Preview button will show you the dates and amounts of the payments. This is just a guide and you can make further changes after you click Preview.
Here is an example showing a once off payment:
Ensure the start date is the date of the payment and an end date that is just after the start date.

Here is an example showing 4 payments in a year:

Here is an example of a multi-year grant, paid once a year.

The 'Plus' button can also be used to enter payments manually.
When you are happy with the payments schedule, select the Create Payments button to create the payments and then close the window.
Notes:
- You will get an error if total amount of the payments doesn’t equal the amount of the grant.
- You can use the Schedule Payments button multiple times to make adjustments to your payments, delete payments and schedule more payments.
Step 3 - Allocate the funds
Allocate the funds by selecting the Allocate Funds button.
Each payment must get allocated to a Fund.
A payment can be split over multiple funds if required and over multiple years.
Select the Create Allocations button when you are finished and then close the window.

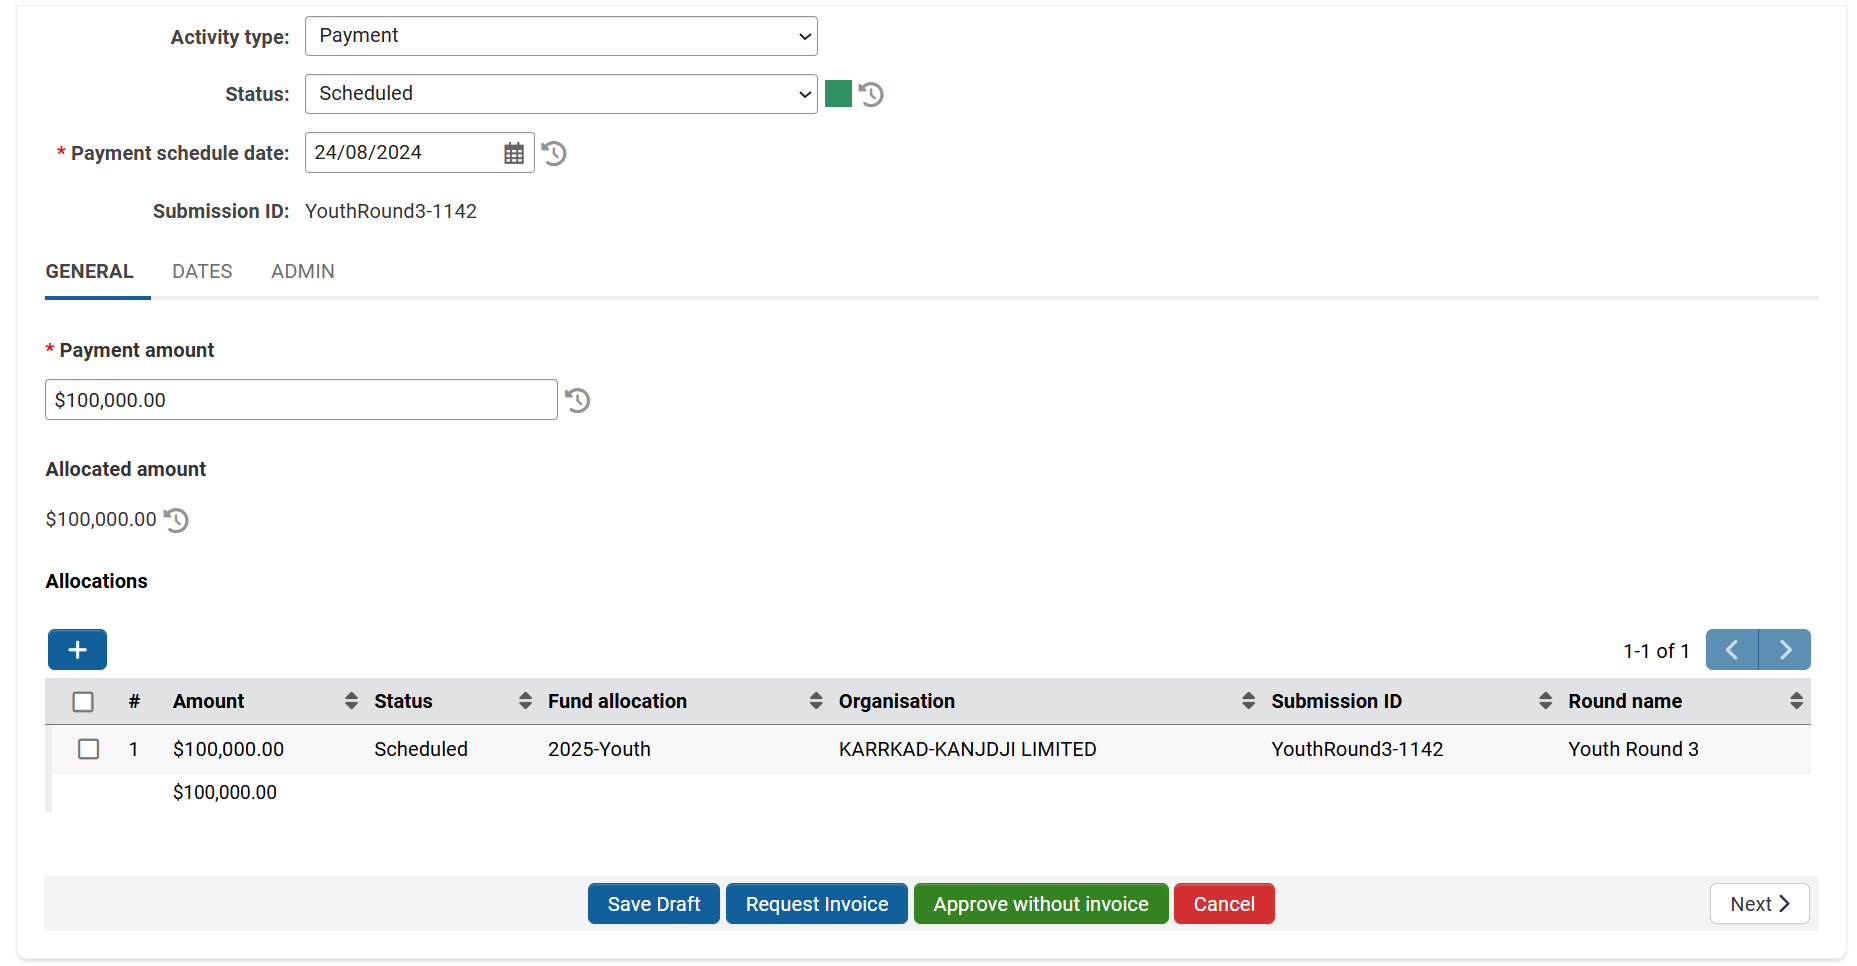
The payments and amount allocated can be viewed now on the Payments tab of the application. Each payment should have an equal allocated amount.

The allocations for each payment are also displayed on the payment forms. This can be edited and new allocations added directly form this list.
What if the fund allocation isn't available to select
If your fund allocation is not available to select it means it wasn't added to the grant round when the application was created.
You will need to go to the Program/Fund tab on the left and then manually find and add the new Fund Allocation.
The Fund Allocation will then be available from the Batch Disbursement window.
Was this article helpful?
That’s Great!
Thank you for your feedback
Sorry! We couldn't be helpful
Thank you for your feedback
Feedback sent
We appreciate your effort and will try to fix the article